
Here's a little tutorial from early May that I had posted to the Airfix Tribute Forum. I thought it would be a nice little treat for those who have been dropping by for the last couple of weeks. Yes, I have really not posted much, but I have been quite productive. I am just not good at taking photos at all. Between modelling, video games, drumming, reading and working out, my free time is very stuffed. Thanks for listening and not giving up on this blog. I hope that this tutorial will come to help those interested. (And I am sorry for not having any photos of the building without paint)
Sorry but for some reason this post is coming out crooked?
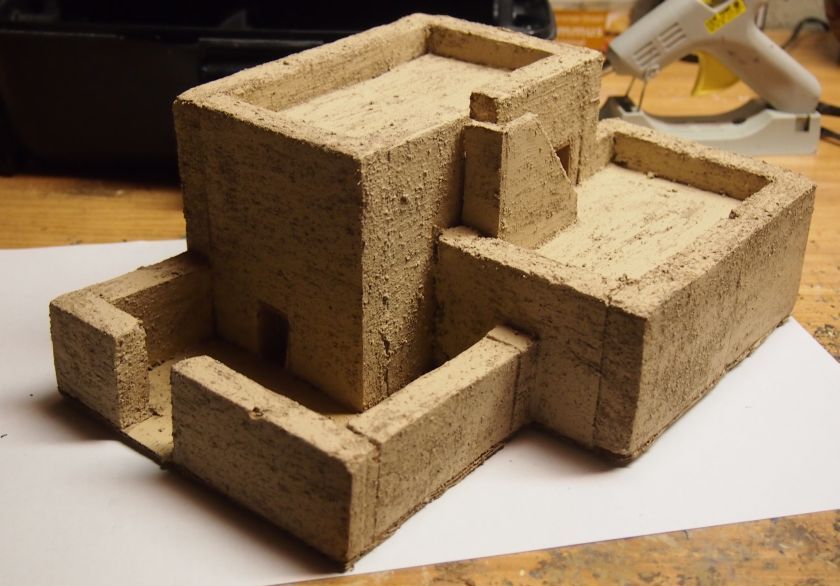
I finally got myself a new camera (one that isn't just 100$, and more on the line of 600$), but remember that it is not the camera that takes good photos, but the photographer (and I have a lot to learn on photography!). Soon though I should understand it. Last Saturday I started working on this Egyptian house for a terrain piece. I started with a cardboard base, and used styrofoam that came with an exercise bench (Normal insulation foam would work too). I built the thunder bolt shape of the building, keeping all walls the same height, and later cut one part shorter as I felt it gave it more depth (the part that was cut off is now the wall/gate in the front of it) . Glued it together (quickly) with a hot glue gun, and added cardboard floors/roof. I painted it with a mixture of light brown acrylic and sand to give it texture and a base colour:

I then gave it a dry brush of sand/light brown.

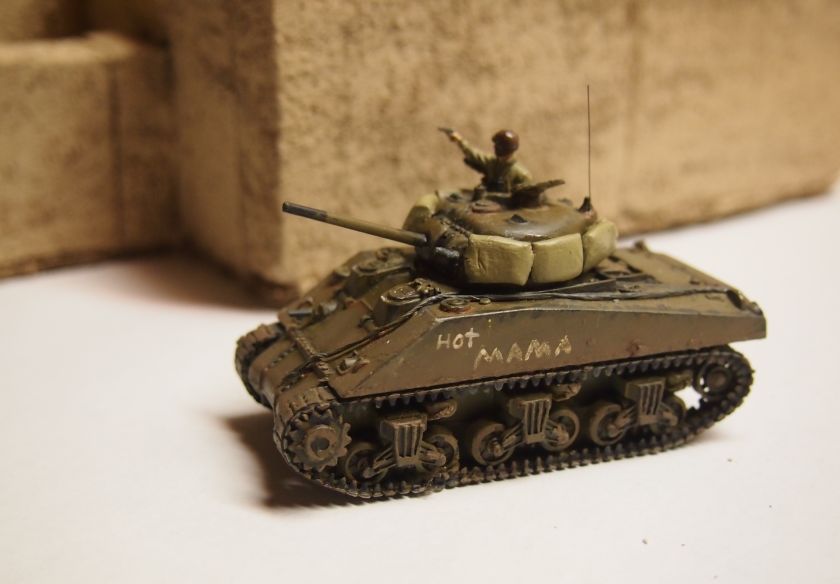
A little comparison with a Sherman (without the final drybrush on the house, what can I say, I was bored watching it dry!)
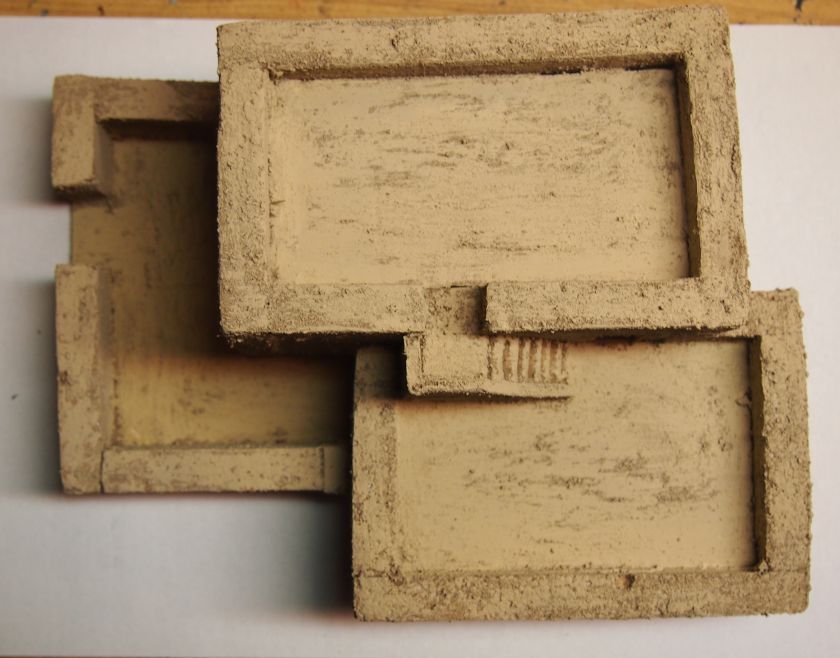
I then did a final dry brush of Sand, and voila! There are still many little details I will add, such as windows and sun shelter's (if that's what they call them) .


It took me one night to mesure and construct the main building, and one or so nights to paint/highlight it.It was virtually free for me (Dollar store paints, free styrofoam,cardboard and sand) but what spent on labour I saved in cash (that square with a hole in it that Italeri calls an Egyptian house goes for over 50$!). And let's not forget that this is what some may consider a "Big House", especially for a country such as Egypt in the 40's.
Beautiful work! This would be great for some of my modern games. I scratchbuild most of my wargame buildings too.
ReplyDeleteThanks! Part two should be up soon. I guess I can take some photos of what it looks like before the paint, using the other buildings I have ready.
DeleteI like it! As Ben says, would be good for modern gaming and every period in between (and quite a few before). Reminds me of the desert sections of Call of Duty 2 :-) I think the windows and sunshades you mention would really set it off well.
ReplyDeleteThanks! I remember those good old early Call of Duty days!
DeleteWow, I can't believe that I could have been so blind! There is no part two to this post. (But there will be more buildings on the way!)
ReplyDelete